Plugin Layers
Plugin Layers are a way to add layer types that render themselves into the style parsing engine at runtime. It is a way to dynamically link new layer types to the MapMetrics core -- and styling language -- without having to compile them into the library itself.
Because the layers are bound at runtime, one or more different types of specialized layers can be added and different versions of layer types can be added.
Currently Plugin Layers are only available on iOS/Darwin using the Metal Rendering pipeline.
Creating a Plugin Layer
Plugin Layers can be created by creating a descendant from MLNPluginLayer and add the class type to an instance of MLNMapView. The layer is self describing (e.g. the layer type, what properties are available, etc) and that information will be registered with the MapMetrics core. When the plugin layer type is found in the style, the core will automatically instantiate it, pass along initial properties and manage the rendering of the layer.
Defining a layer's capabilities
The newly created layer class should override the layerCapabilites class method. Please note that this is a class method and not an instance method, so make sure it's prefaced with a + and not a -.
The object that is returned from this method defines the layer type and the propeties that the layer expects.
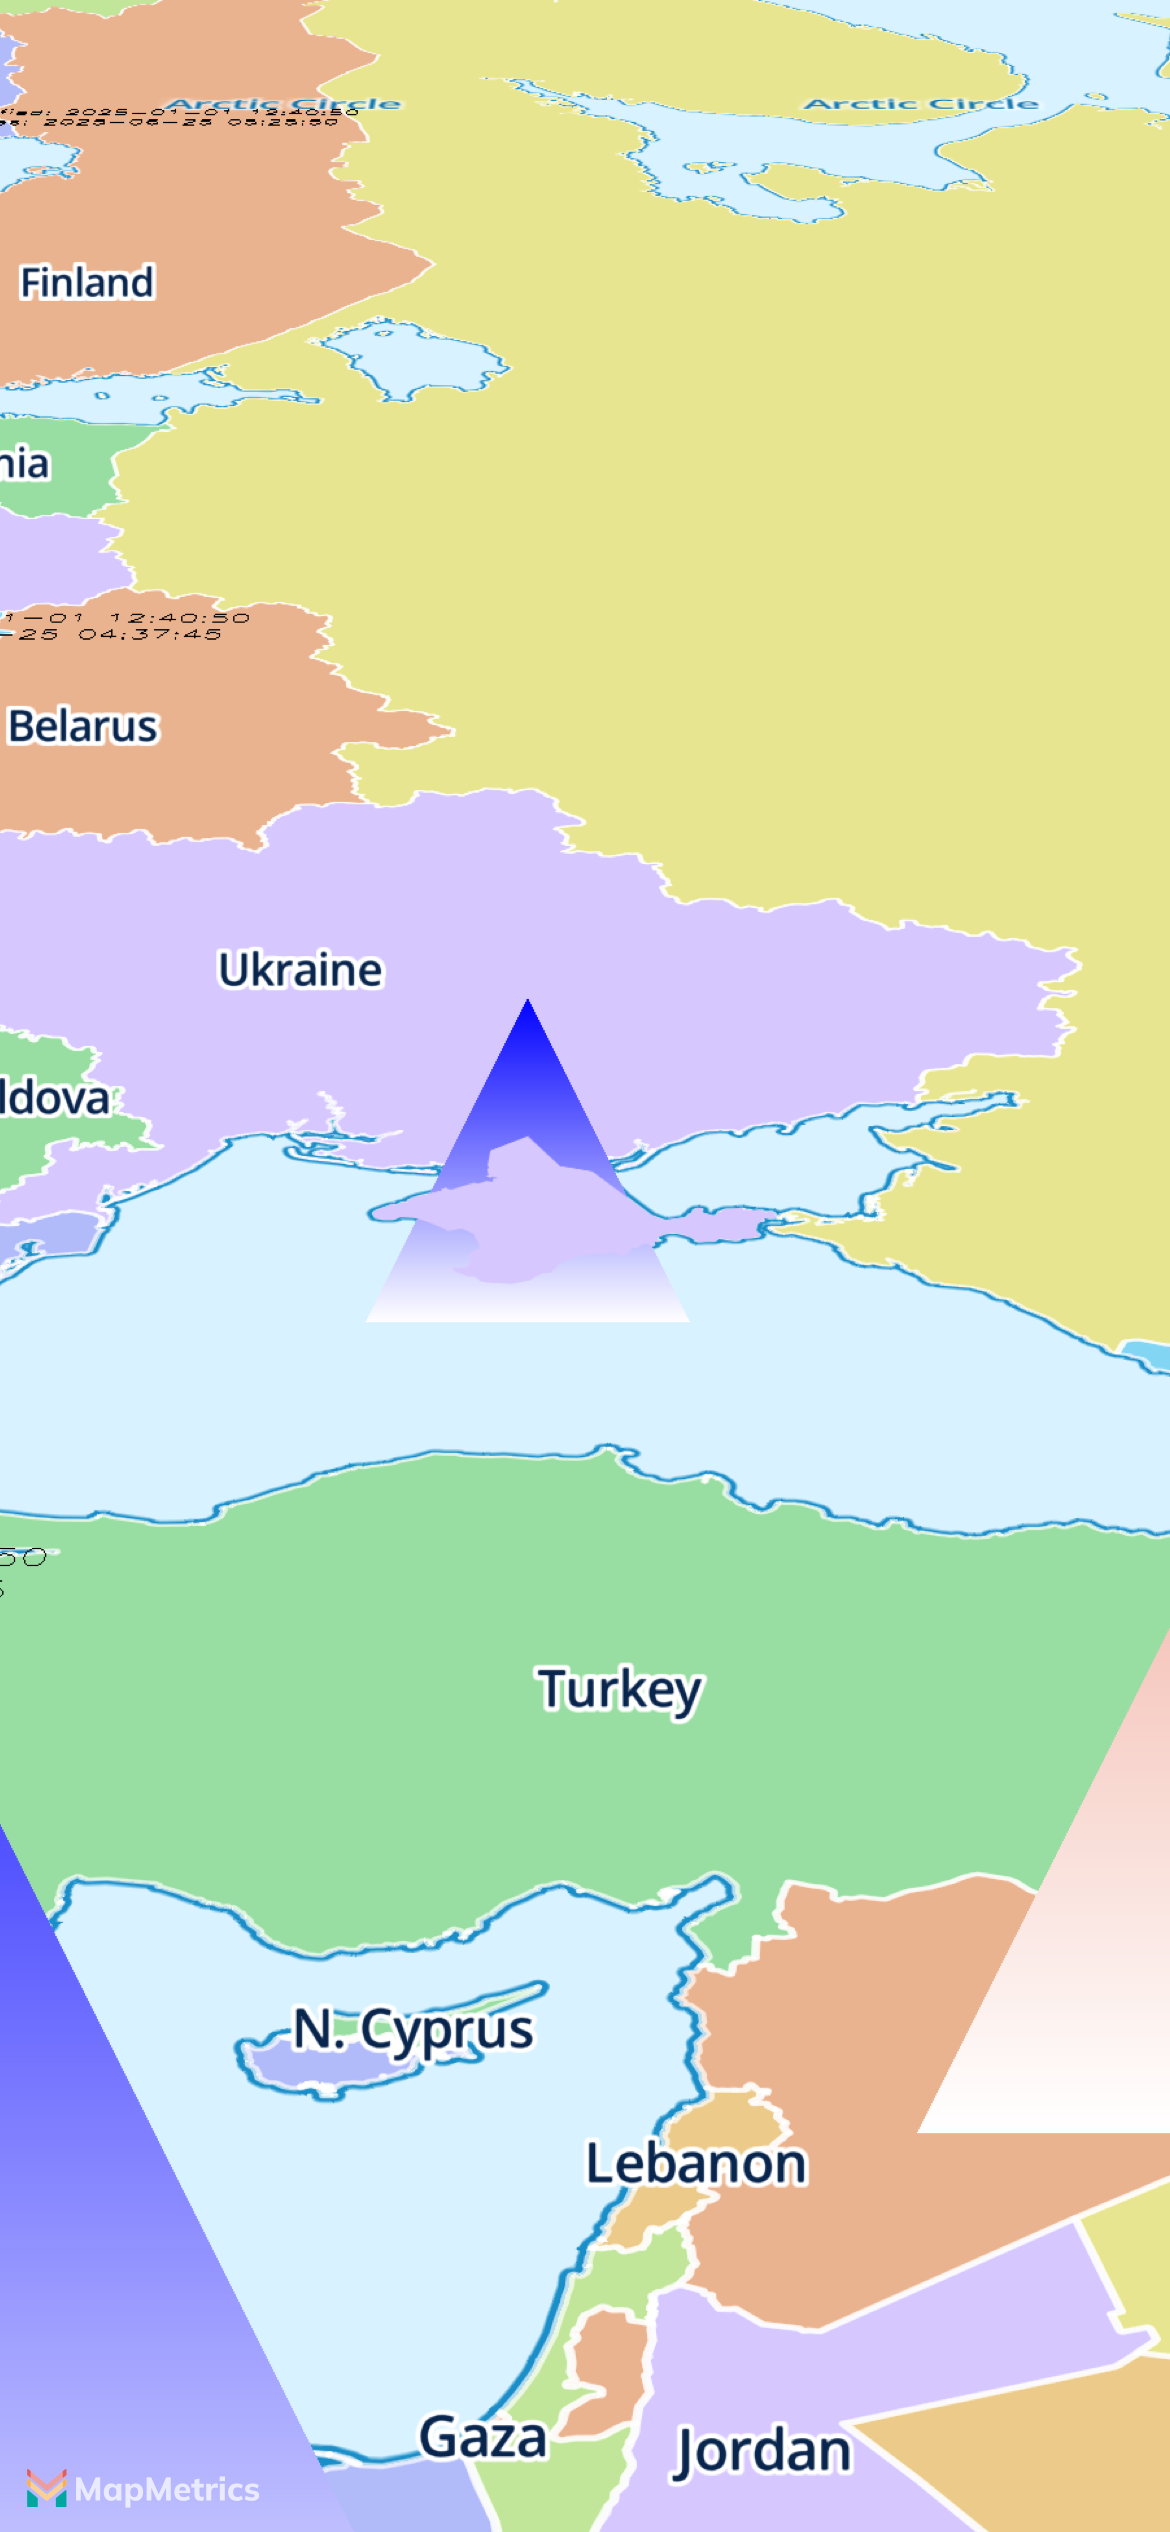
The triangle example (platform/darwin/app/PluginLayerExampleMetalRendering.mm) defines it's layer type "plugin-layer-metal-rendering" and two paint properties (scale and fill-color). These properties can be expression based. It's important to define the type of property (single float or color) and a default value. The properties returned by layerCapabilities will correspond to any properties in the "paint": part of the style.
Initialization properties can also be added to the "properties": section of the layer style.
+(MLNPluginLayerCapabilities *)layerCapabilities {

    MLNPluginLayerCapabilities *tempResult = [[MLNPluginLayerCapabilities alloc] init];
    tempResult.layerID = @"plugin-layer-metal-rendering";
    tempResult.requiresPass3D = YES;

    // Define the paint properties that this layer implements and
    // what types they are
    tempResult.layerProperties = @[
        // The scale property
        [MLNPluginLayerProperty propertyWithName:@"scale"
                                    propertyType:MLNPluginLayerPropertyTypeSingleFloat
                                    defaultValue:@(1.0)],

        // The fill color property
        [MLNPluginLayerProperty propertyWithName:@"fill-color"
                                    propertyType:MLNPluginLayerPropertyTypeColor
                                    defaultValue:[UIColor blueColor]]

    ];

    return tempResult;

}
For the triangle example, there are two initialization properties (offset-x and offset-y) for positioning and two paint properties, scale and fill-color. Here are three different instances of the plugin layer being added to the style. One that has a static scale (and uses the default color), one that has an expression based scale (and uses the default scale) and one that has an expression based scale and fill color.
{
  "id": "metal-rendering-layer-1",
  "type": "plugin-layer-metal-rendering",
  "properties": {
    "offset-x": -300,
    "offset-y": -300
  },
  "paint": {
    "scale": 2.5
  }
},
{
  "id": "metal-rendering-layer-2",
  "type": "plugin-layer-metal-rendering",
  "properties": {
    "offset-x": -300
  },
  "paint": {
    "scale": [
      "interpolate",
      [
        "linear"
      ],
      [
        "zoom"
      ],
      5,
      0.5,
      15,
      3
    ]
  }
},
{
  "id": "metal-rendering-layer-3",
  "type": "plugin-layer-metal-rendering",
  "properties": {
    "color1": "#DDAAFF",
    "offset-x": 300
  },
  "paint": {
    "scale": [
      "interpolate",
      [
        "linear"
      ],
      [
        "zoom"
      ],
      5,
      3,
      15,
      0.5
    ],
    "fill-color": [
      "interpolate",
      [
        "linear"
      ],
      [
        "zoom"
      ],
      1,
      "#ff0000",
      22,
      "#00ff00"
    ]
  }
}
Example 2: GLTF Plugin Layer
In this repository you can find an example of a plugin layer that allows adding GLTF models. The following JSON is added to the style.
{
  "id": "model-layer",
  "type": "hudhud::gltf-model-layer",
  "properties": {
      "model-source-resource":"models.json"
  },
  "paint": {
      "scale": 1.0
  }
}
@Video( source: "gltfplugin.mp4", poster: "gltfplugin.png", alt: "GLTF Plugin in action.") { GLTF Plugin showing 3D models of the Arc de Triomphe and the Eifel Tower. }